Email a reference link or document via Content Manager.
Documents within Content Manager can be emailed to others through Microsoft Outlook (but not Outlook Webmail version).
- Search for the document you wish to send to via email
- Highlight the document and select the Mail
 icon
icon
OR
right click and choose Send To and then click Mail

There are 2 options to send a document via email
- Content Manager record reference
This is a tr.5 link (Used when sending to a TRIM user)
Note: you can chose to include the record number and record type in the subject
- Electronic document
(Used when sending to a non-TRIM user)
Note: you can change the name of the attachment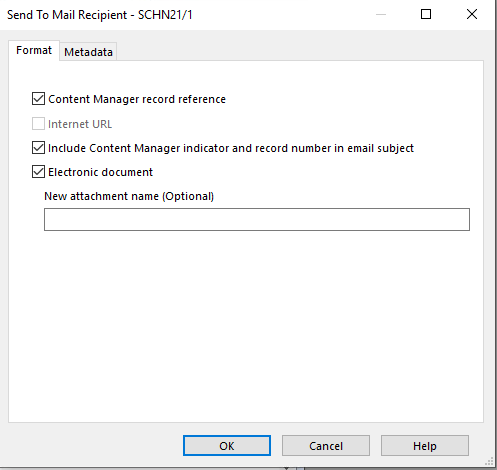
You can tick all available options and they will all be included in the email.
Metadata tab
You can choose what metadata goes into your email message.
Select from the Available fields to Add. Move Up or Down as you'd like them ordered in your email.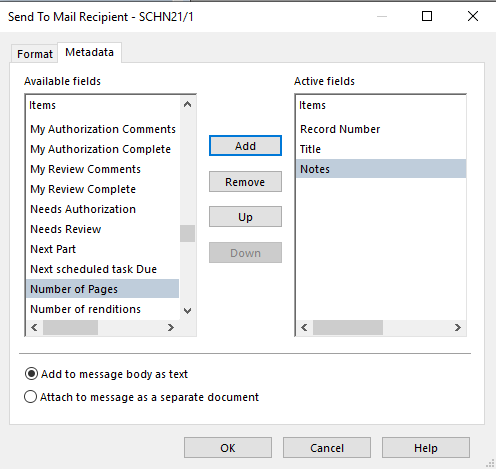
Click OK to create email
Email message
An automated TRIM note with record metadata is inserted in the email.
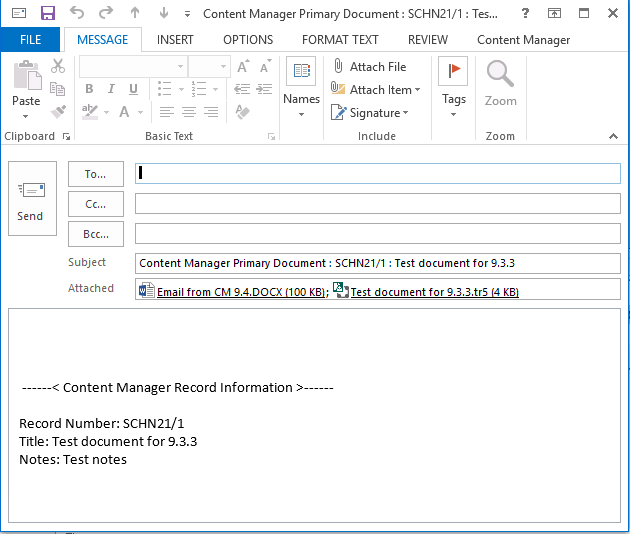
NOTE: You need to send or close the email before you can resume any further work in Content Manager.
When the email is received the recipient can;
- Click on the link which will open it within Content Manager,
- Open the attached document.
Email Signature
The email is in Plain text so your signature will only display in Plain text with no graphics/logo included.
Change your message to HTML if you would like your signature with logo included.
In Outlook go to Format Text tab then select HTML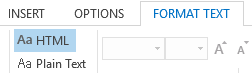
You can add your signature to the email from the signature option on the tool bar.
When the email is received the recipient can;
- Click on the link which will open it within Content Manager,
- Open the attached document.
Sending multiple records
Multiple records can be sent.
Highlight the documents you want to send.
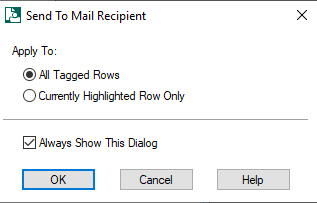
Ensure All Tagged Rows is selected and tick Always Show This Dialog.
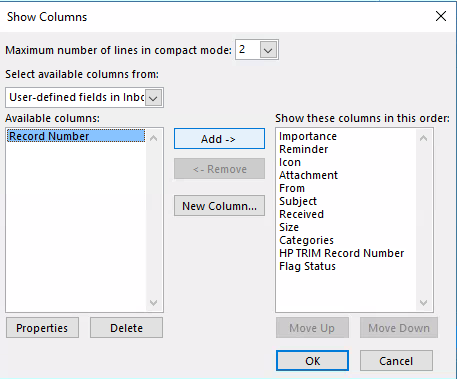
Outlook Inbox Column
See Content Manager records and their numbers from your Outlook inbox.
When an email subject line starts with "CM:" this is because it has been captured in Content Manager.
1.To see the record number in your inbox, right click on the inbox columns then View Settings
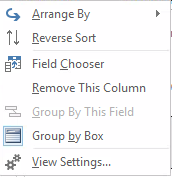
or
On the Outlook View tab, in the Current View group, click View Settings
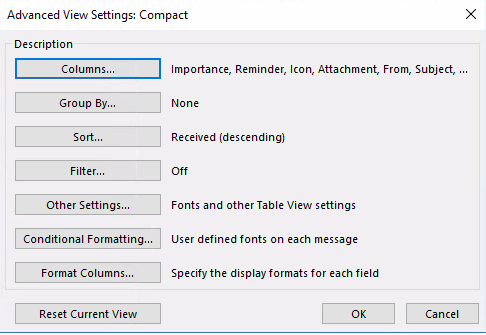
2. In the Advanced View Settings dialog box, click Columns
3. In the Available columns list, scroll to "User-defined fields in Inbox" and select it
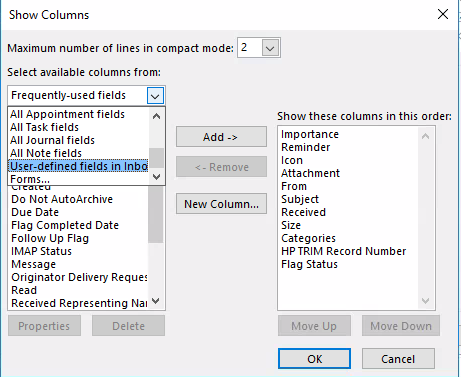
4. Click Record Number, and then click Add. Use Move Up or Move Down buttons or drag to order your columns