
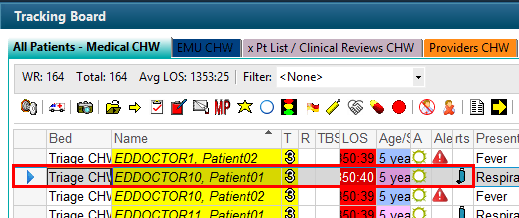
Set an Event
- Highlight the patient from the tracking board
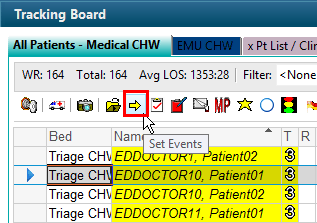
- Select the Set Event icon from the toolbar
- Set Event window will appear
- Select the event by ticking the checkbox
- Click OK
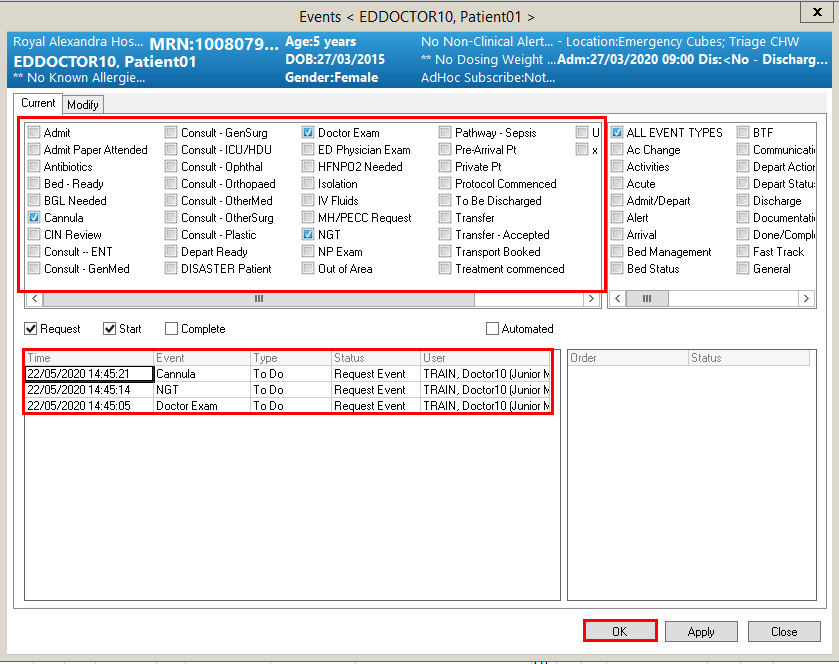
- The corresponding icons to the set events will appear in the To Do column

Complete an Event
- Highlight the patient from the tracking board
- Select Set Event icon from the toolbar
- Set Event window will appear
- Locate the event, click the status drop-down list and select
Complete Event - Click OK
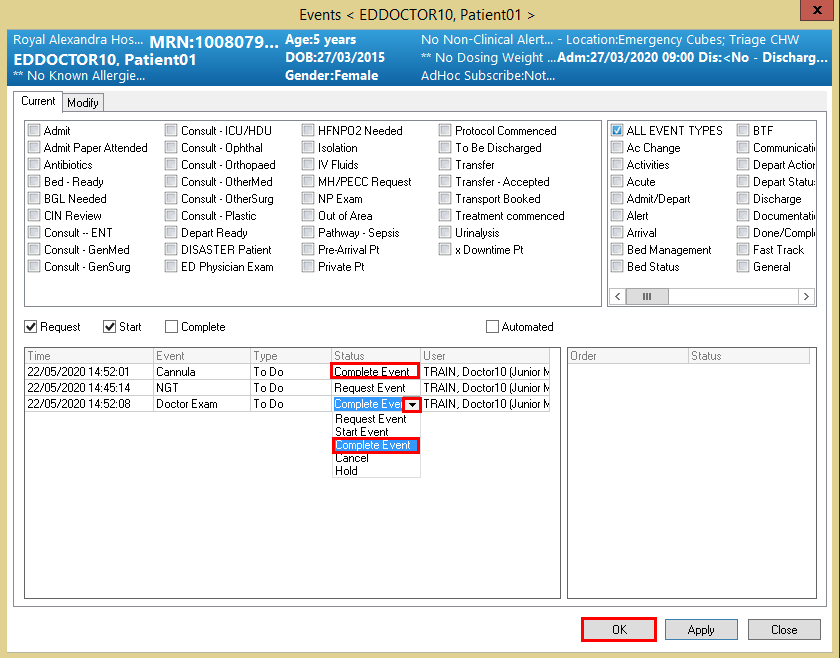
- Depending on the set event you completed, some icons will move into the Done/Completed column

Cancel an Event
- Highlight the patient from the tracking board
- Select Set Event icon from the toolbar
- Set Event window will appear
- Locate the event, click the status drop-down list and select Cancel
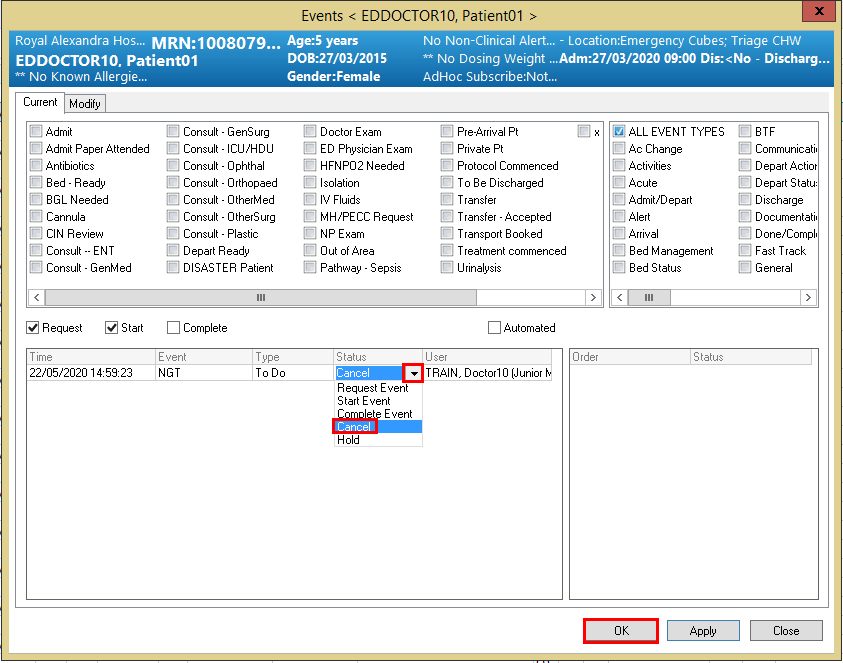
- Set event will drop away from the To Do column

Modify the time of an Event
To modify a time for an event that has already started or has been completed:
- Highlight the patient from the tracking board
- Select Set Event icon from the toolbar
- Set Event window will appear
- Click Modify tab
- Ensure that Current User is tagged
- Double click on the time for the event that needs to be modified (i.e. the Start Event time of Doctor Exam is incorrect)
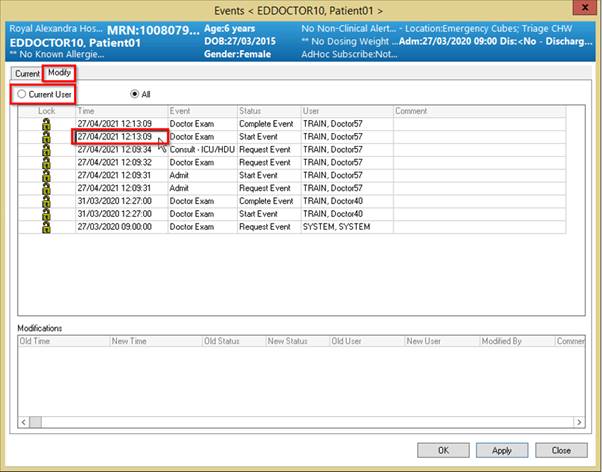
- A Modify Time pop up window appears
- Enter in the correct time of the Doctor Exam start time
- Click OK
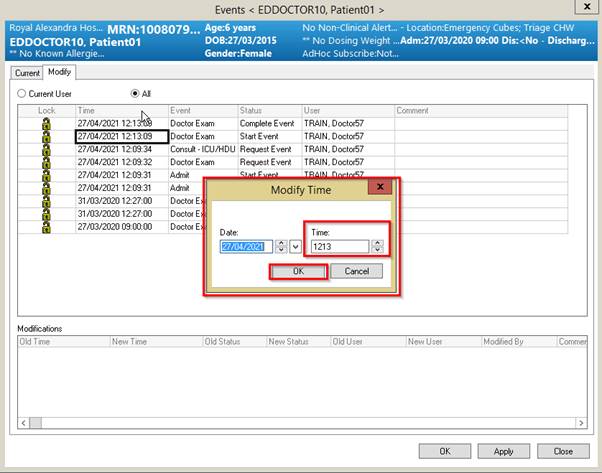
- The time will be adjusted
- Click Apply in the main Set Event window
- Click OK to close
Application