
The fields for charting Peripheral IV Catheters on Interactive View (iView) have been updated in line with recent policy Peripheral Intravenous Catheters - Clinical Standard (published Feb 10, 2022).
This quickstart outlines how to chart a Peripheral IV Catheter and highlights the changes made to charting fields.
See iView Managing Entries for information on modifying entries in iView
Label the Peripheral IV Cannula
-
Click
 on the menu
 -
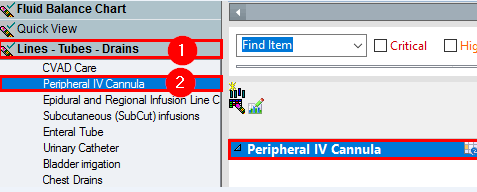
Click on the Lines-Tubes-Drains band and select Peripheral IV Cannula
-
This populates a Peripheral IV Cannula section on the right side
-
Click on the grid icon
 to Add a Dynamic Group ie label the cannula and populate its charting fields
 -
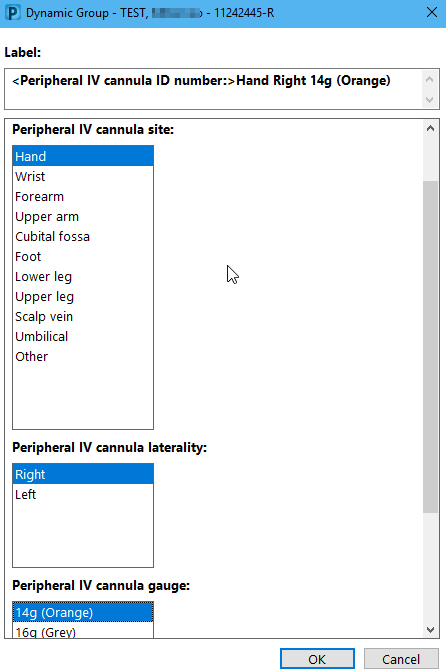
Label the Peripheral IV Cannula by making a selection from site and laterality
-
Scroll and select the cannula gauge
-
Click OK
-
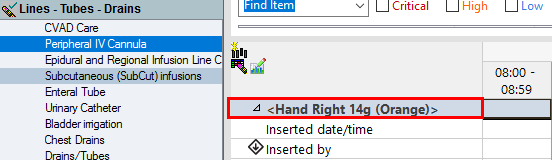
A label and related charting will be populate for the Peripheral IV Cannula
Add documentation
-
Navigate to the relevant time column and enter the appropriate information. The most recent column is on the left of iView. Scroll to the right to see earlier entries.
Create a specific time column
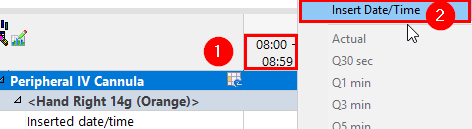
Entries will be added to the beginning of the hour unless a specific date/time column is created.
-
Right click over the time slot at the top of the column and select Insert Date/Time
-
The fields default to the current date/time. You may alter as required
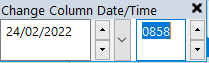
-
Click on the timeline or press Enter to exit and the new time column will be added
- To collapse the specific time column back into the hourly column, right click over the time and select Q1 hr
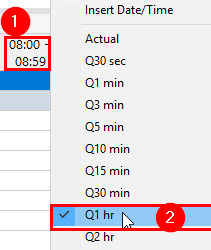
- The number of data entries within that time column will be displayed in brackets

- To view the specific time columns, right click over the time and select Actual

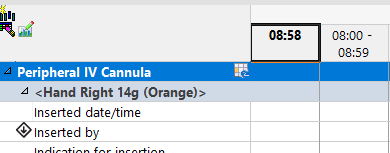
Charting the cannula
Chart one cell at a time
-
Double click into the cell and type or make selection/s from the drop down. Then double click into next required cell
- Data appears purple until it is signed. Click the green tick icon in top left to sign
 . This will save the data.
Chart multiple cells quickly
-
Double click on the timeline in the required column
-
This icon
 appears to indicate the column is activated
-
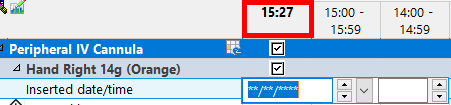
The cursor jumps to the first field – Inserted date/time. Type ‘t’ to auto populate the date and time
-
Press Tab on the keyboard or click the next cell to jump to the next cell
-
Continue to complete fields
-
Click
 to sign
 -
Enter password
-
Data appears in black and is now saved
Chart drop down options
-
More than one selection can be made from a dropdown with squares
Changes to iView charting
Fields that no longer populate
-
Parent/carer verbal consent obtained
-
Insertion number of attempts
Fields that display differently
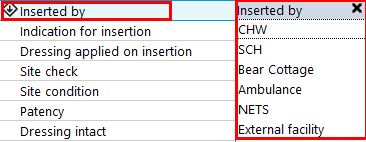
Inserted by
-
Requires a selection from options
-
It is a trigger for conditional fields indicated by

-
Selecting SCH, CHW or Bear Cottage triggers more data fields. The additional data fields display with a conditional field icon

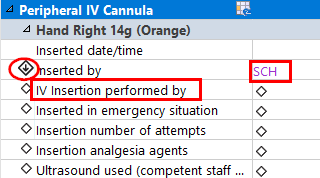
- Click into the field for IV Insertion performed by then click the magnifying glass to search for the name of staff member. Freetext is not accepted

-
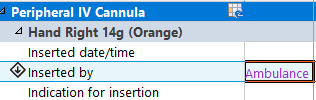
Selecting Ambulance, NETS or External Facility for Inserted by does not trigger additional data fields.
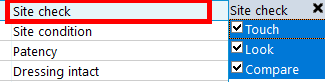
Site check
- Options have changed to: Touch, Look, Compare
- Continue charting Site Checks in LInes-Tubes-Drains (not the Fluid Balance Chart).
IV Set Change
-
Requires a date. Type 't' to populate today's date
Removed by
- Click the magnifying glass to search for the staff member name
![]()
New Fields
-
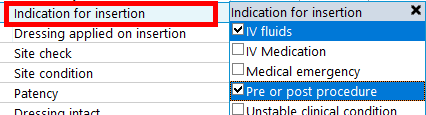
Indication for insertion
-
Site Condition
-
Patency
-
Dressing intact
-
Extravasation identified: is another trigger for conditional fields. Selecting ’yes’ opens fields for Stage and Comment.

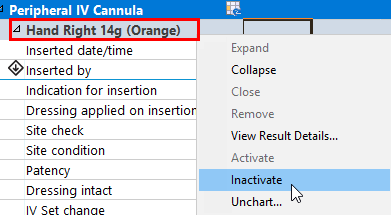
Inactivate the Peripheral IV Cannula
When a Peripheral IV Cannula is removed, the section should be Inactivated in iView . This prevents further documentation.
-
Complete the fields relating to removal (Removed date/time, Removed by and Reason for removal)
-
Use the magnifying glass to search for name of Removed by

-
Right click on the Cannula label and select Inactivate
-
The cannula information is now greyed out and inactive
To cancel charting
-
To clear (purple) entries which have not been signed yet, click the cancel icon
 next to the green tick
 -
Click Yes on the Cancel Documentation pop up

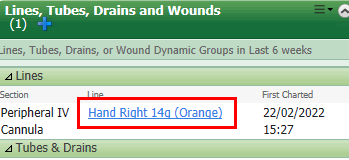
Review Peripheral IV Cannula documentation in Nursing View
Quickly find information in the Lines, Tubes, Drains and Wounds component of the Nursing View
-
Click on
 in the menu
 -
Navigate to Lines, Tubes, Drains and Wounds
-
View the Line charted and First Charted date/time
-
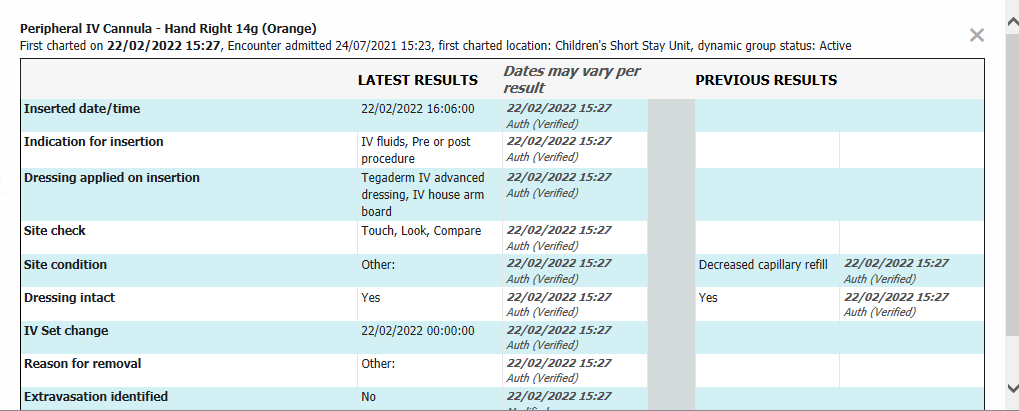
Click on the hyperlink to view Latest and Previous Results
-
Click the X to close the window
-
A red notation will display next to a cannula that has been inactivated and/or documented as removed in iView
