
The Check In Action is essential for all Outpatient appointments that are attended. The Check In process is connected to the patient's encounters: All appointments must either have a new encounter created or have an existing active encounter associated to it. Associating the correct type of encounter to an appointment is essential as encounters are used to generate Activity Based Funding for eligible patients as well as being an integral part of a patient’s electronic medical record.
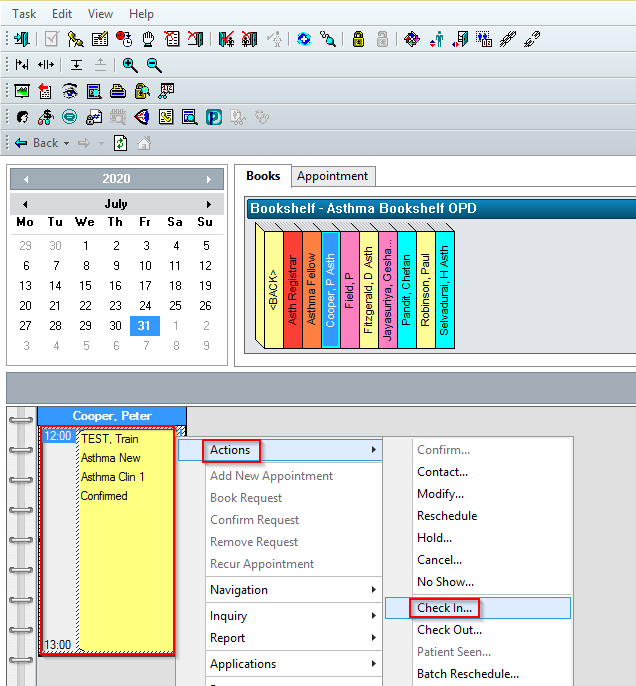
- Right click on the patient appointment
- Select Actions
- Click Check-In...
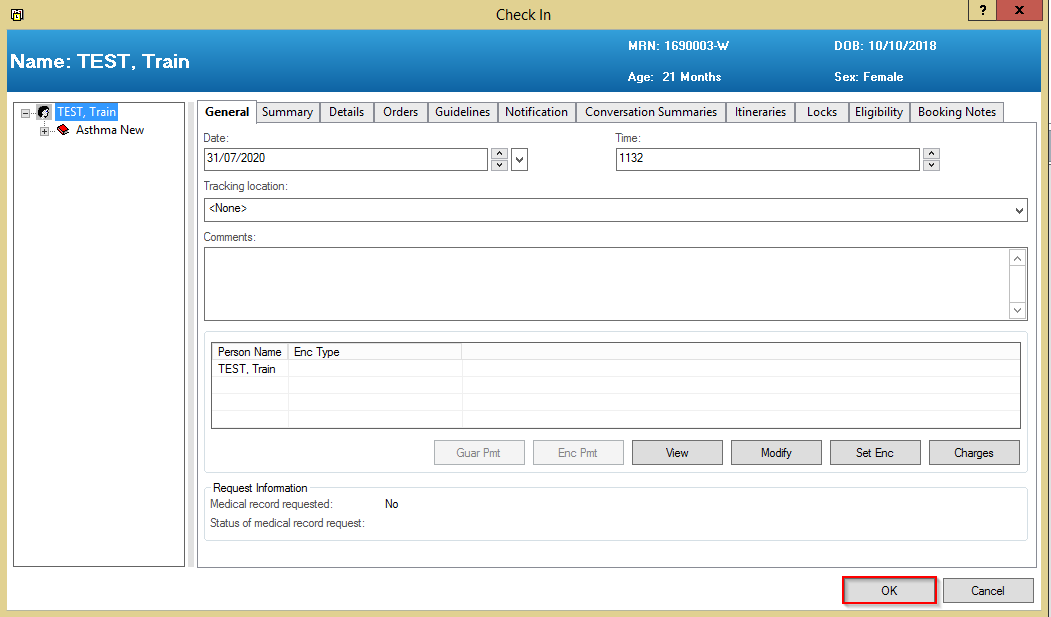
- The Check-In window will appear, click OK
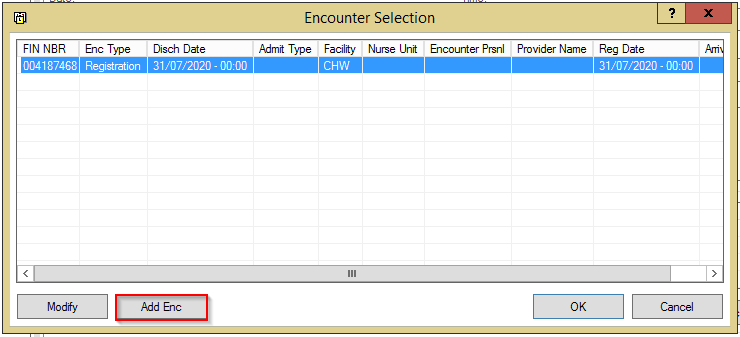
- The Encounter Selection will appear
- If the patient is not a current Inpatient, click Add Encounter
Note: For more information on encounter selection rules please refer to the following Quickstart - Scheduling - Encounter Selection at Check In
- In the OPD Visit Tab, select the appropriate Financial Class

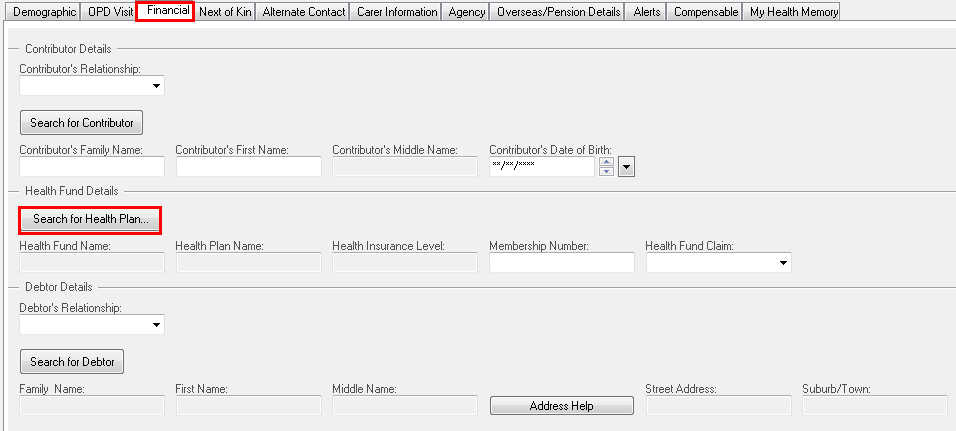
- In the Financial Tab, complete patient details for Contributor
- Select the Contributor’s Relationship from the drop down menu and click Search for Contributor
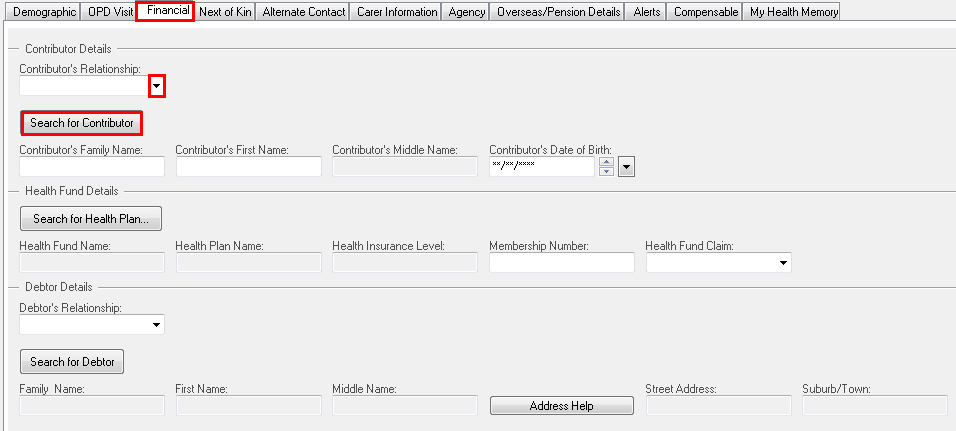
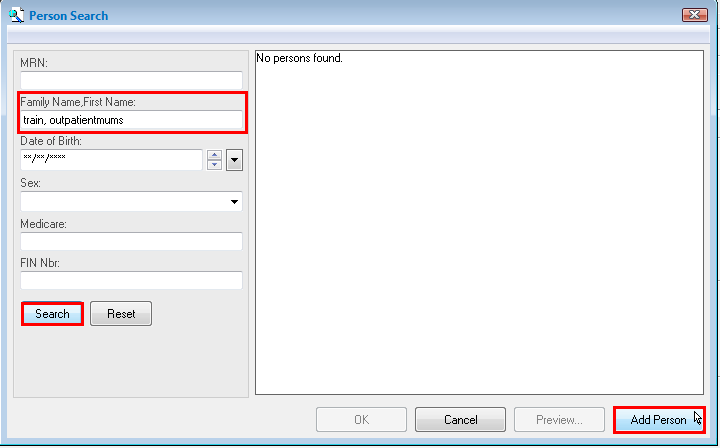
- Search person Family Name and First Name and click Add Person if No Persons Found
- Click Search for Health Plan
- Search for Health Plan, select the Health Plan in the top half of the window – click OK
Note: If the patient does not have health insurance, search for Uninsured

- In the Financial Tab, select Health Fund Claim from the drop down list
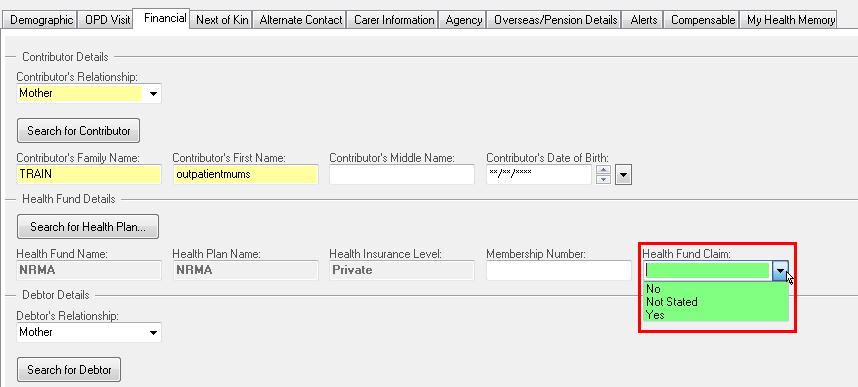
- Select Debtor’s Relationship from the drop down list

- If not previously entered, in the Next of Kin Tab, Type name of Next of Kin, click Search
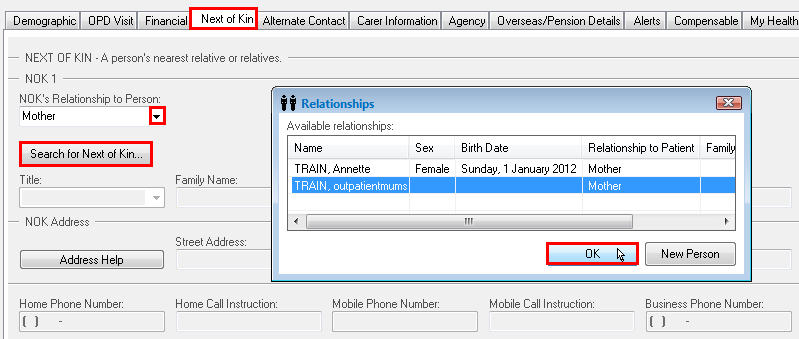
- If person found, highlight the person and click OK
- If no person found click New Person to add person
- Enter Next of Kin details. Yellow fields are mandatory
- If Medicare Number unknown click into Date of Birth field and this becomes mandatory – enter date of birth
- In Street Address field type “same” for patient’s address to populate otherwise click on Address Help to select different address
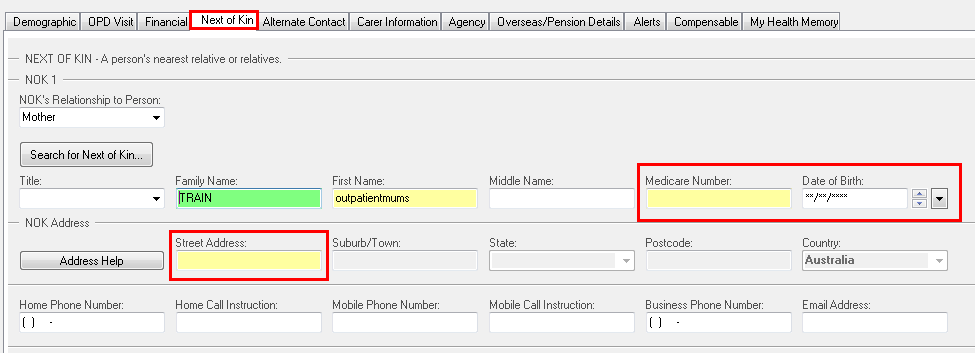
- Once all mandatory fields have been completed, click OK in the bottom right hand corner
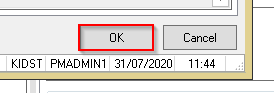
- Click OK to confirm patient Check In

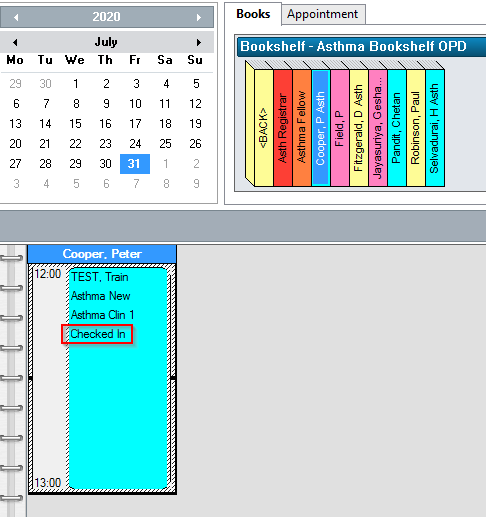
- The appointment slot will change colour and the status will update to Checked In
Application