Prior to Checking In an appointment it is important to ensure a dummy update is performed in iPM and a referral is linked to the appointment in SCHN Scheduling Appointment Book.
Please refer to Quickstart “Dummy Update to trigger the transfer of mandatory fields from iPM to Cerner PM” and “Scheduling – Creating a Referral”.
All appointments must either have a new encounter created or have an existing active encounter associated to it. Associating the correct type of encounter to an appointment is essential as encounters are used to generate Activity Based Funding for eligible patients as well as being an integral part of a patient’s electronic medical record.
There are two ways to check in an appointment:
-
In Scheduling Appointment Book from relevant Bookshelf
-
Right click on the patient appointment, select Actions and Check In

OR
-
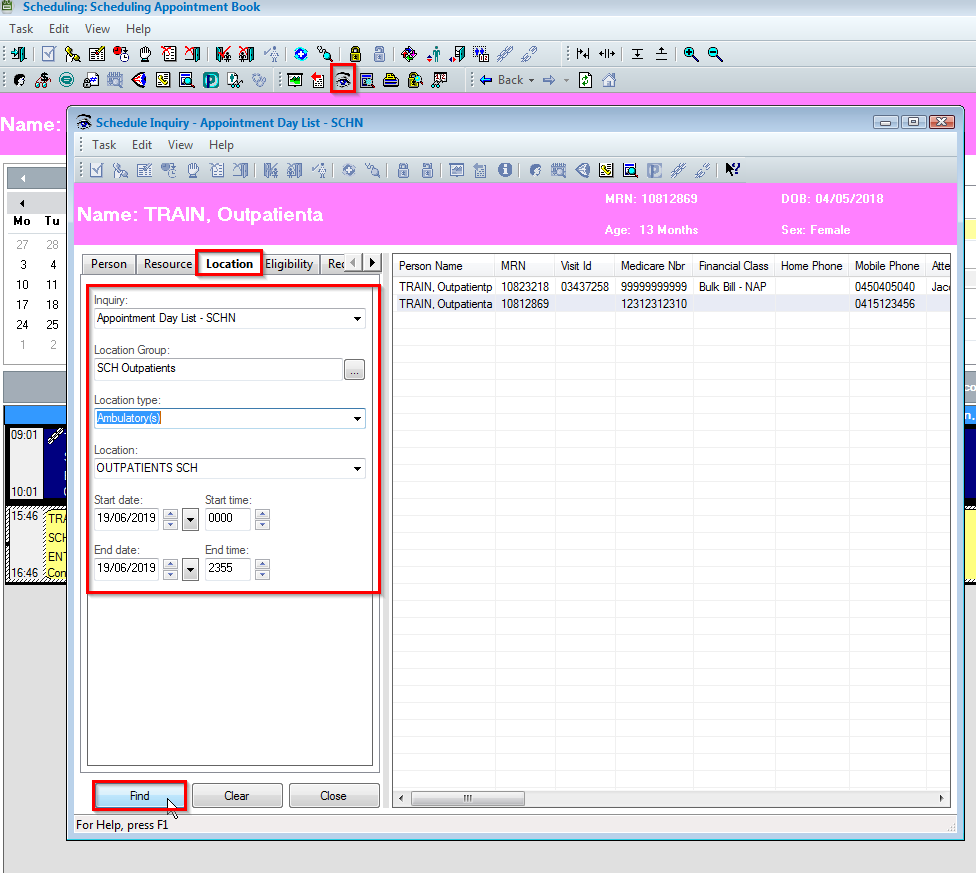
In Scheduling Appointment Book via Appointment Enquiry icon
-
Click on Location and ensure parameters for relevant location are selected, then click Find
-
A List of Appointments will appear on the right
- Right click on the patient appointment, select Check In
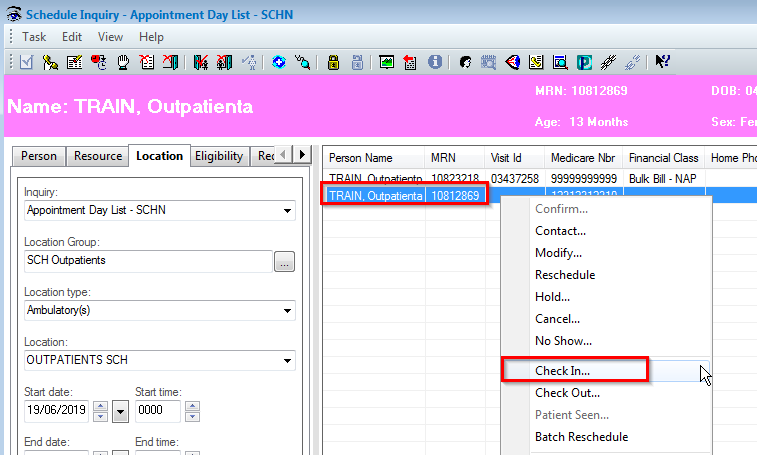
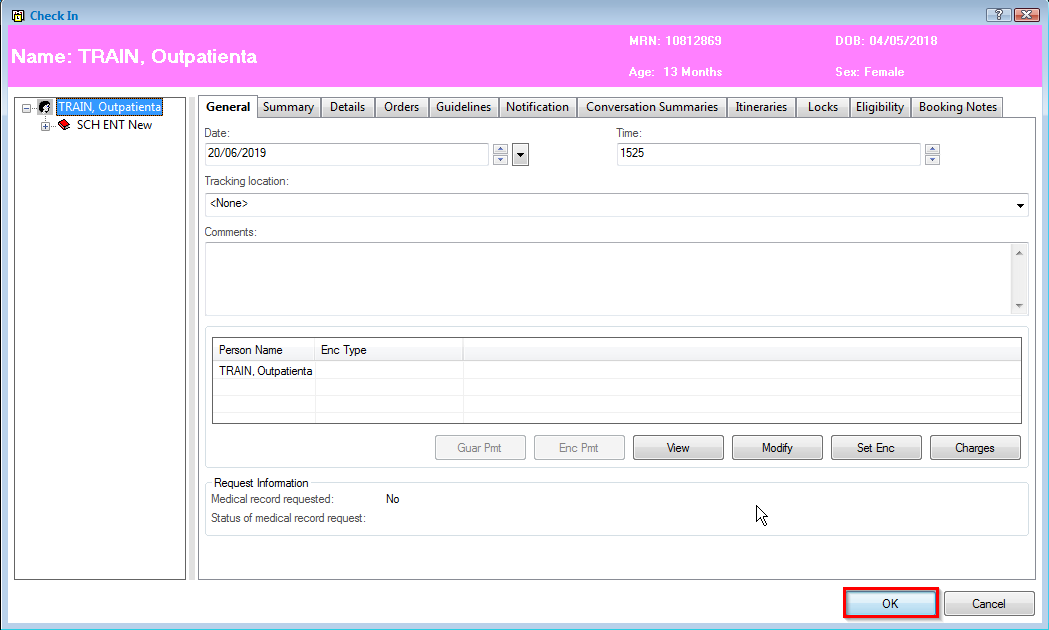
- The Check-In window will appear, Click OK.
-
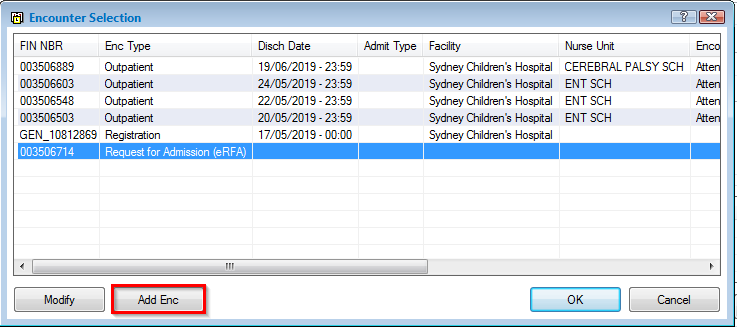
An Encounter Selection window will appear, click Add Encounter
NOTE: For more information on encounter selection rules please refer to Quickstart “Encounter Selection at Check In” https://learning.schn.health.nsw.gov.au/search-results?search_api_fulltext=encounter+selection
-
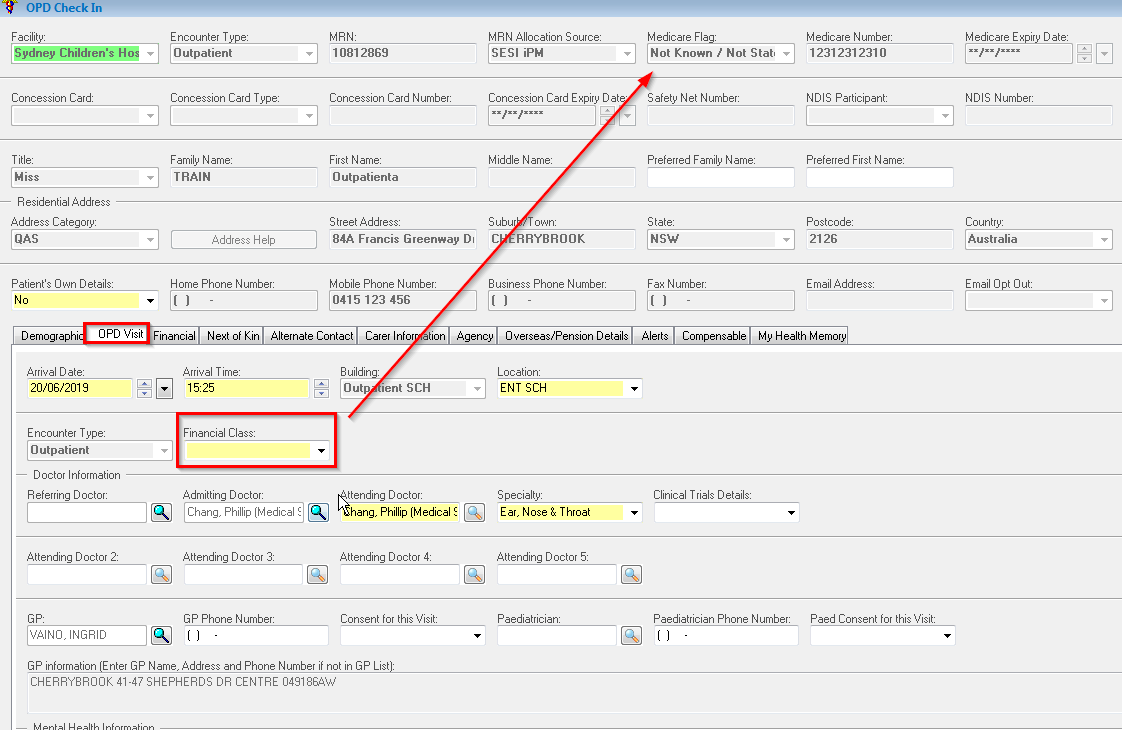
An OPD Check In conversation window appears
-
Click on OPD Visit tab
-
Select Financial Class from the drop down menu
NOTE: Financial Class options from the drop down menu are dependent on the Medicare Flag selected – if a Financial class option is not on the list, Medicare Eligibility will need to be updated in iPM prior to commencing the Check In process.
-
Click on the Next of Kin tab
-
Ensure the NOK details are entered by selecting NOK’s Relationship to Person and Search for Next of Kin
NOTE: For a more detailed quick reference guide please refer to Quickstart “Adding / Updating Next of Kin details https://learning.schn.health.nsw.gov.au/patient-management-next-kin

-
Click OK in the far right bottom corner once all mandatory fields (indicated in yellow) are complete
-
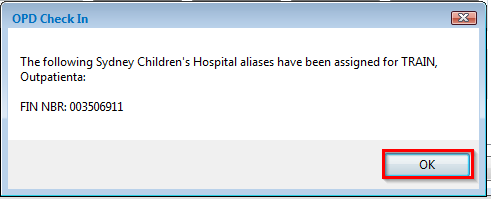
An OPD Check In window will appear with the patient’s visit number
-
Click OK