My Portal is a centralised place to get a summary across patients of saved documents, orders, charts, discharges; as well as links to other lists and resources.
- On the toolbar, click on MyPortal
![]()
- The home screen will display information and updates related to eMR
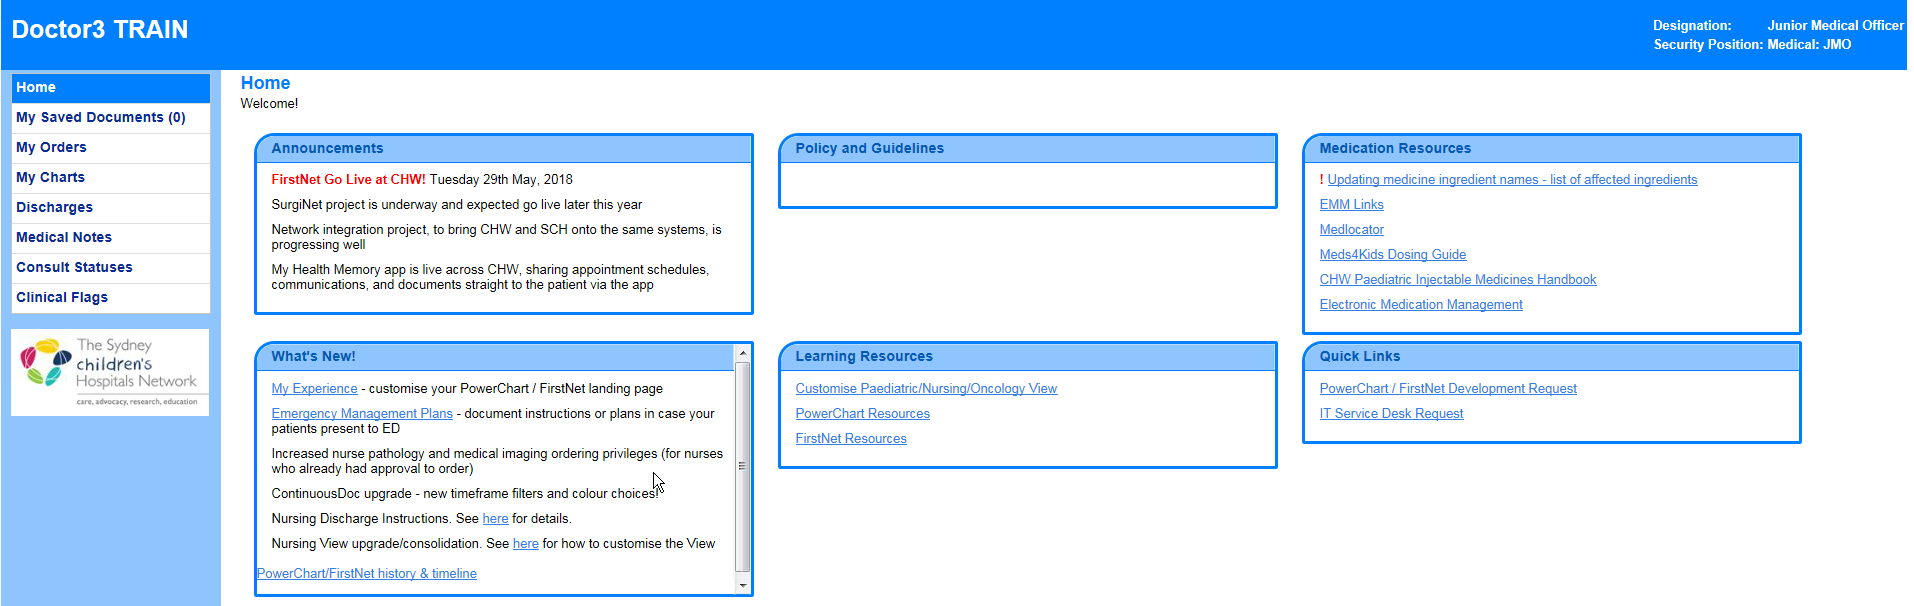
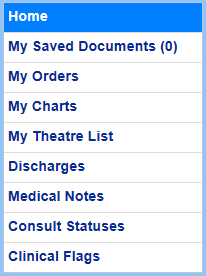
- Use the menu on the left hand side to navigate between MyPortal
My Saved Documents
My Saved Documents is a centralised area to review all documents that have been saved but not signed. The number in the brackets indicates the number of documents to be signed.
- Select My Saved Documents from the menu on the left hand side
- Click on the hyperlinks to open the documents and forms to be signed.

My Orders
My orders shows orders that are placed by yourself on patients (pathology, imaging, etc.) for a certain day.
- Select My Orders from the left hand menu
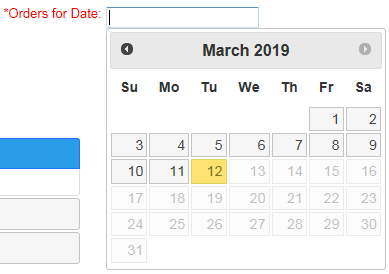
- You must select a day by clicking on the date field and selecting the day you wish to view
- Filter your order by Ordered Date or Requested or Collection Date

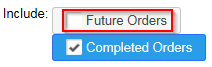
- You can add an additional search to include future orders by selecting the tick box
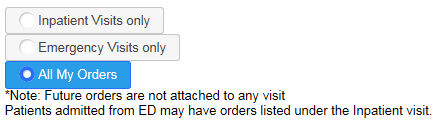
- You can further filter orders by encounters
- Click Retreive My Orders
- Select Reset Search Filters to reset search criteria to default
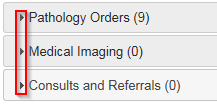
- The orders are filtered into 3 sections, click on the small triangle to expand. Only one section can be open at a time
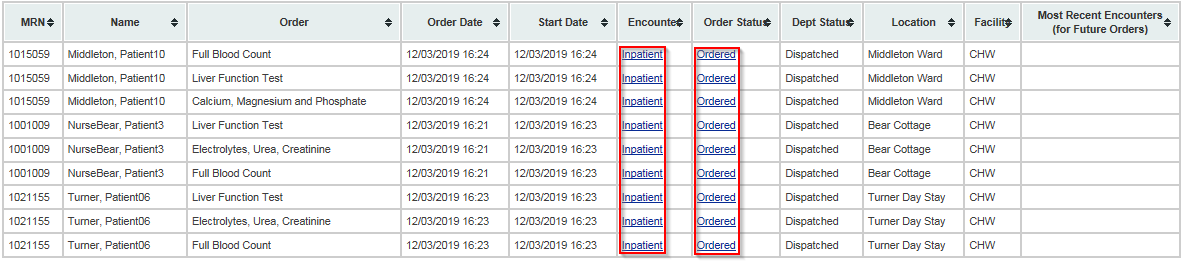
- Details of your orders will be display once expanded. You can click on the blue hyperlinks to open the patient file
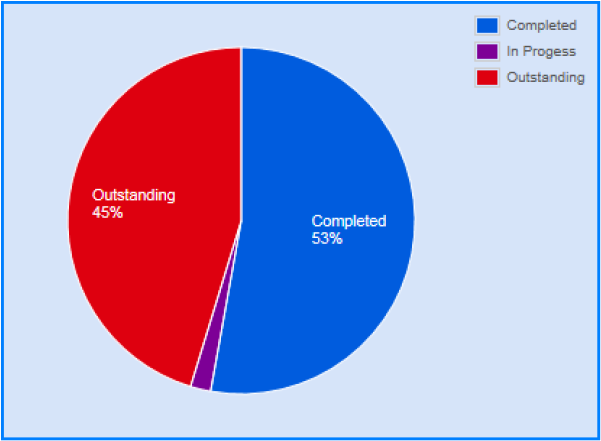
- A pie graph will show you the percentage of completed, in progress and outstanding orders
My Charts
My Charts lists the patient files which you have opened for the day (including the encounter). These will include patients that are not on your patient/ward list.
- Select My Charts from the left hand menu
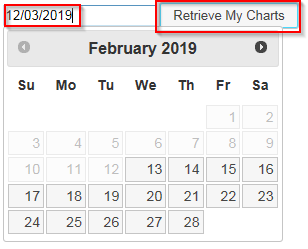
- Select the date by selecting the date box and then select retrieve my charts
- The table present will show the patient’s name, MRN, admission date, date/time accessed and the relationship with the patient. By clicking on the blue hyperlink, you can access the patients file (ensure you’re on the correct encounter if you need to make orders).

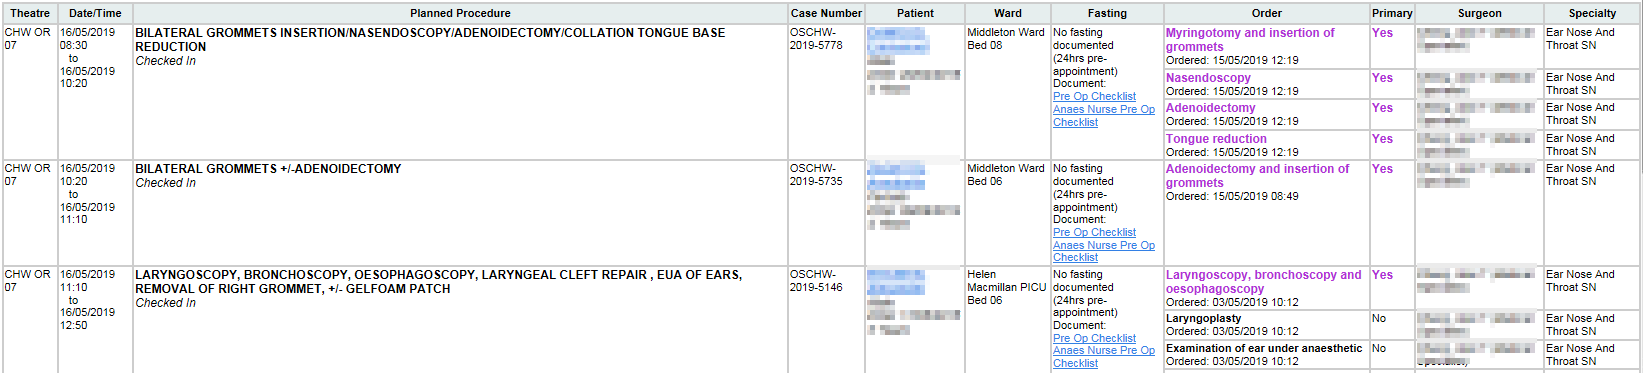
My Theatre List
- Select My Theatre List from the left hand side menu
- Within My Theatre List, fill in the both mandatory fields of Date Range and Facility.
- Optional: Add further filters by Theatre Location, Surgeon, Speciality or utilising the tick boxes on the right hand side
- Select Retrieve the Theatre List

- List Details (sorted by Date, Theatre location, then Time)
- Theatre: Location of operation
- Date/Time: Scheduled start and finish time
- Planned Procedure: Planned Procedure including patient status
- Case Number: SurgiNet Case Number
- Patient: Patient Details including name, DOB, gender and age (hyperlink to open patient record)
- Ward: Patient Location
- Fasting: Details of fasting details if documented and access to select adhoc forms
- Order: The surgical orders placed for the case, including the main surgical procedure (purple), the emergency order (red), other procedure orders to be performed for the case (black)
- Primary: identifies which surgical order is the primary procedure for the case
- Surgeon: Surgeons name
- Speciality: Surgical Department Speciality
- Emergency Surgeries are labelled red in the planned procedure. Details from the Emergency Surgery order also populate into the Surgeon/Specialty columns
- The list for SCH will also show timeslots reserved from cases booked by POW
- Clicking on the print icon will take you to explorer menu. Follow the steps next to the print icon to get the theatre list

- NOTE: For Randwick Combine Operating Suites (RCOS) combined theatres list see: http://webapps.schn.health.nsw.gov.au/sch-pow-theatre-list/
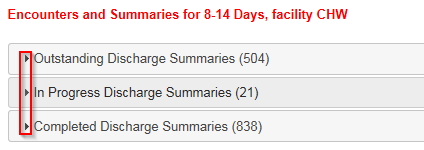
Discharges
- Select Discharges from the left hand menu
- Use filters to narrow your search. The only mandatory filters is lookback range and facility, but note that more filters should be entered to make the report run faster. Then select Retrieve the Discharges.

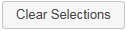
- If you wish to remove the filters, select clear selections
- The red text indicates your filters. Select the expand icon to expand on the section you want to view. Note: Only once section can be open at a time
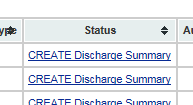
- The table details the discharge summaries and their status. By clicking on the patients name, you open the patients file. By clicking on the status, you open the documentation
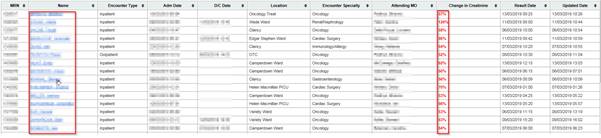
- For outstanding discharge summaries, click the CREATE Discharge Summary hyperlink to add a new discharge summary with the correct encounter, note type, and template already pre-selected
Medical Notes
This function is designed for Senior Medical Officers to review notes/forms that were created by their Junior Medical officers for that day.
- Type in the first 5 letters of the surname into the staff list field then from the Medical Staff selection box, select the appropriate doctor. Select a date then select retrieve their document

- Once the table populates, you can either select the patients name to open the file or select the document type to open the document that was written

Consult Statuses
View/Check consult statuses by type. This tool can also be helpful to check consult statuses that have been placed for your department
- Using the drop down boxes, select your facility, lookback range and order type then select retrieve consult orders

- When the table populates, you can view the patients file by clicking on the patients name or view the documentation by clicking on the document type.
- You can also view who and when the document was last was updated.

Clinical Flags
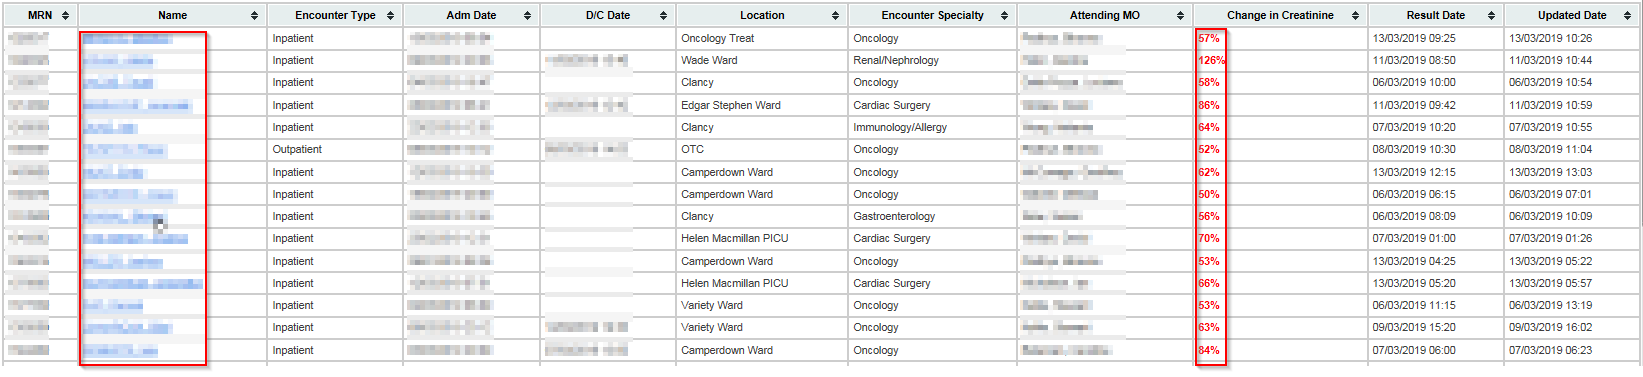
Clinical flags provides reports to flag certain patient groups that have critical or time sensitive results or activities that needs to be reviewed throughout the day.
- Currently there are 2 reports that have been developed.
- Creatinine increased by 50% over the past 7 days (CHW Lab results only)
- ED Bed Request Orders
- Select a report from the drop down box then select retrieve
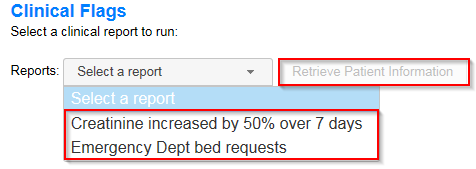
- You can click on the patients name to open the file
- Also, a percentage Change in Creatinine/ number of Emergency Dept bed requests will show