
Scheduling Locks
- A lock may appear during the booking process and creates a conflict on the patient's schedule until the appointment is confirmed
- This happens if two users are trying to schedule an appointment for the same patient and prevents multiple users from attempting to select the same request action concurrently
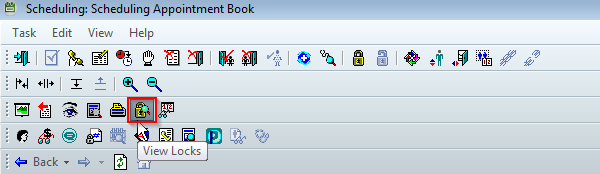
- When a lock/conflicts occurs, click on view locks icon in the top left corner of the screen
- Highlight the lock and click remove
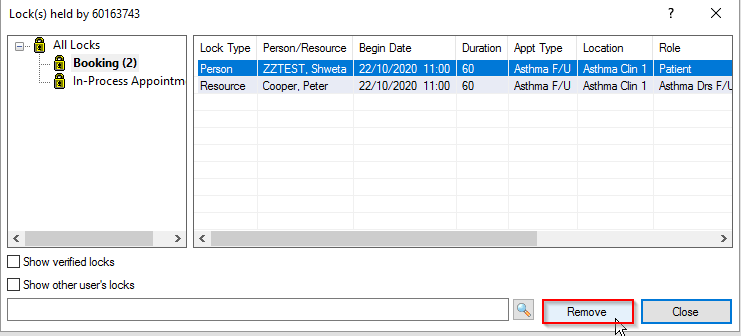
- The lock is now removed and you can continue the booking process
Alternatively, to remove the locks via Revenue Cycle, follow the steps below:
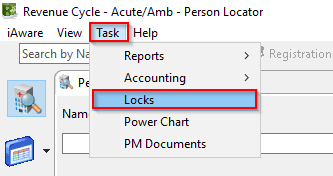
- Click on Revenue Cycle icon through App bar
- Click on Task button in menu, select Locks. The Locks Manager dialog box is displayed.
- Click the Scheduling tab
- Under Show Scheduling Locks For, select the appropriate option to show locks for the current user, another user, or a person. The qualifying locks are displayed in the table below.
- Under Lock Types to View, select to show Booking or In-Progress Appointments locks. The qualifying locks are displayed in the table below
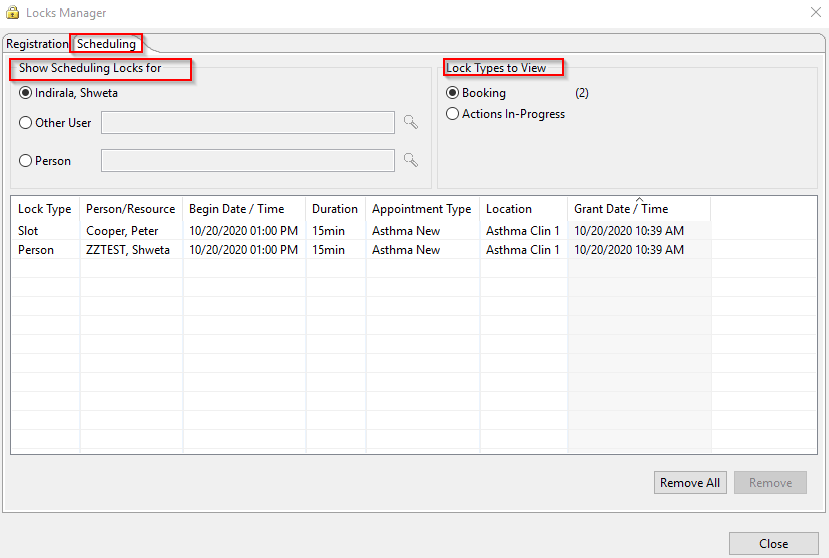
- Select one or more locks and click Remove to release the selected lock or locks
- Note: The Remove All button is only available for your own locks
- To select multiple locks, press and hold CTRL while you select multiple locks
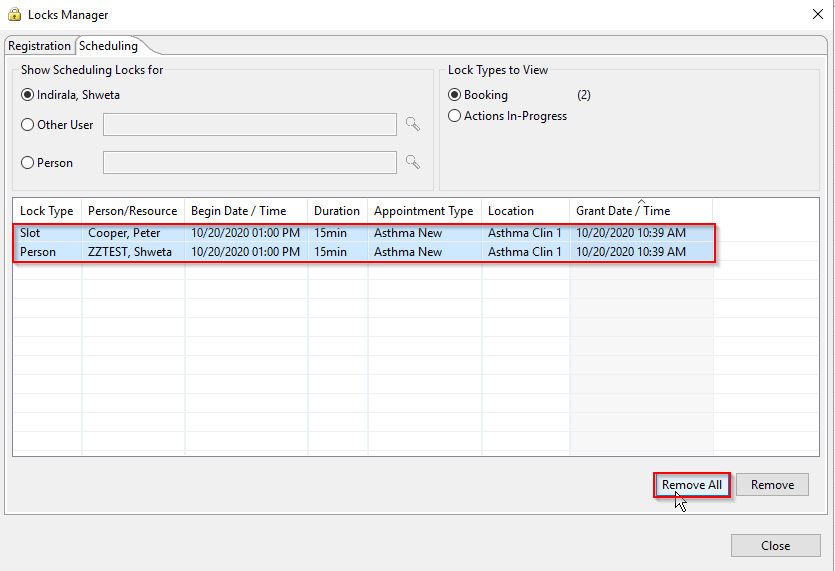
- To close the dialog box and return to the main application, click Close
![]()
Application